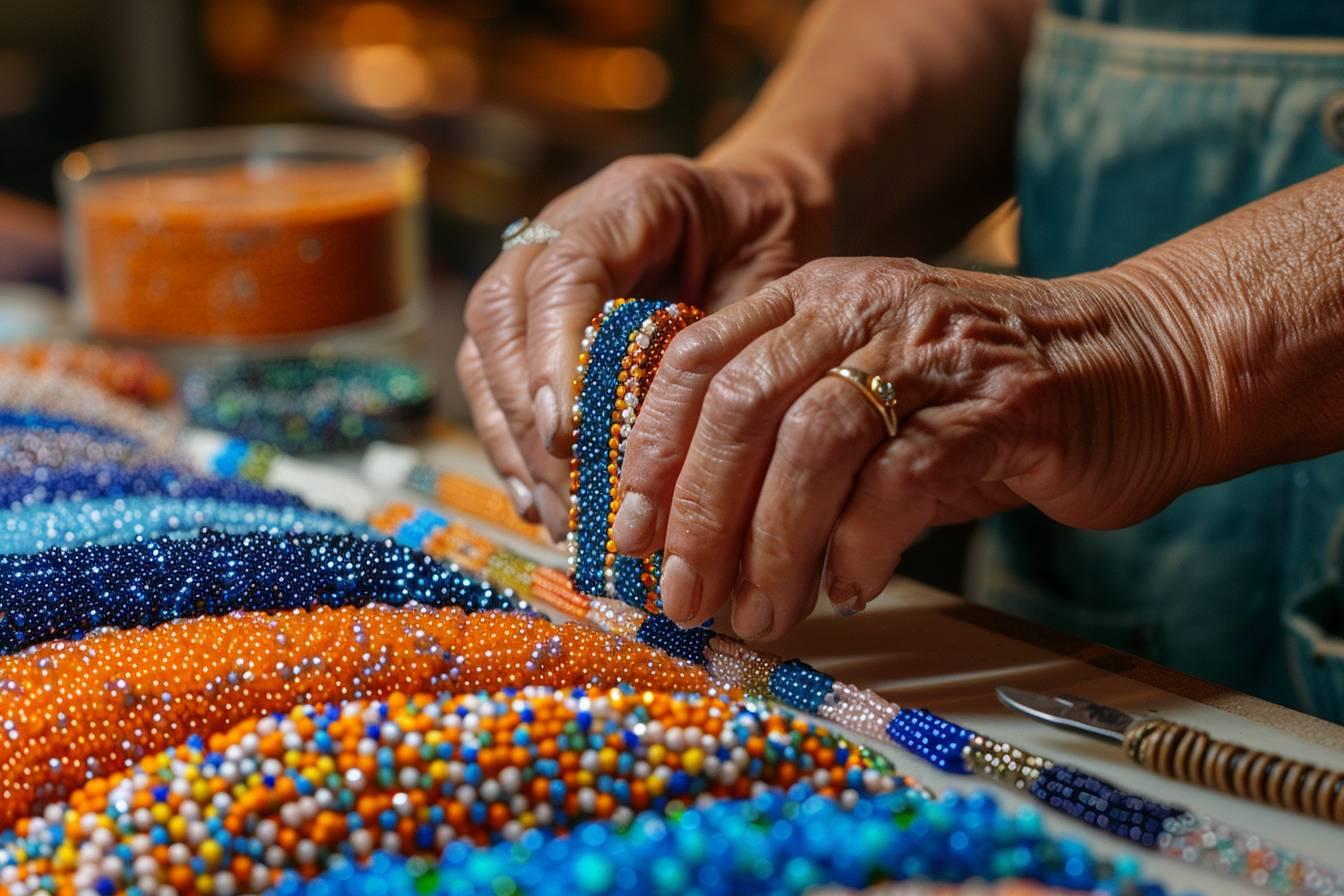
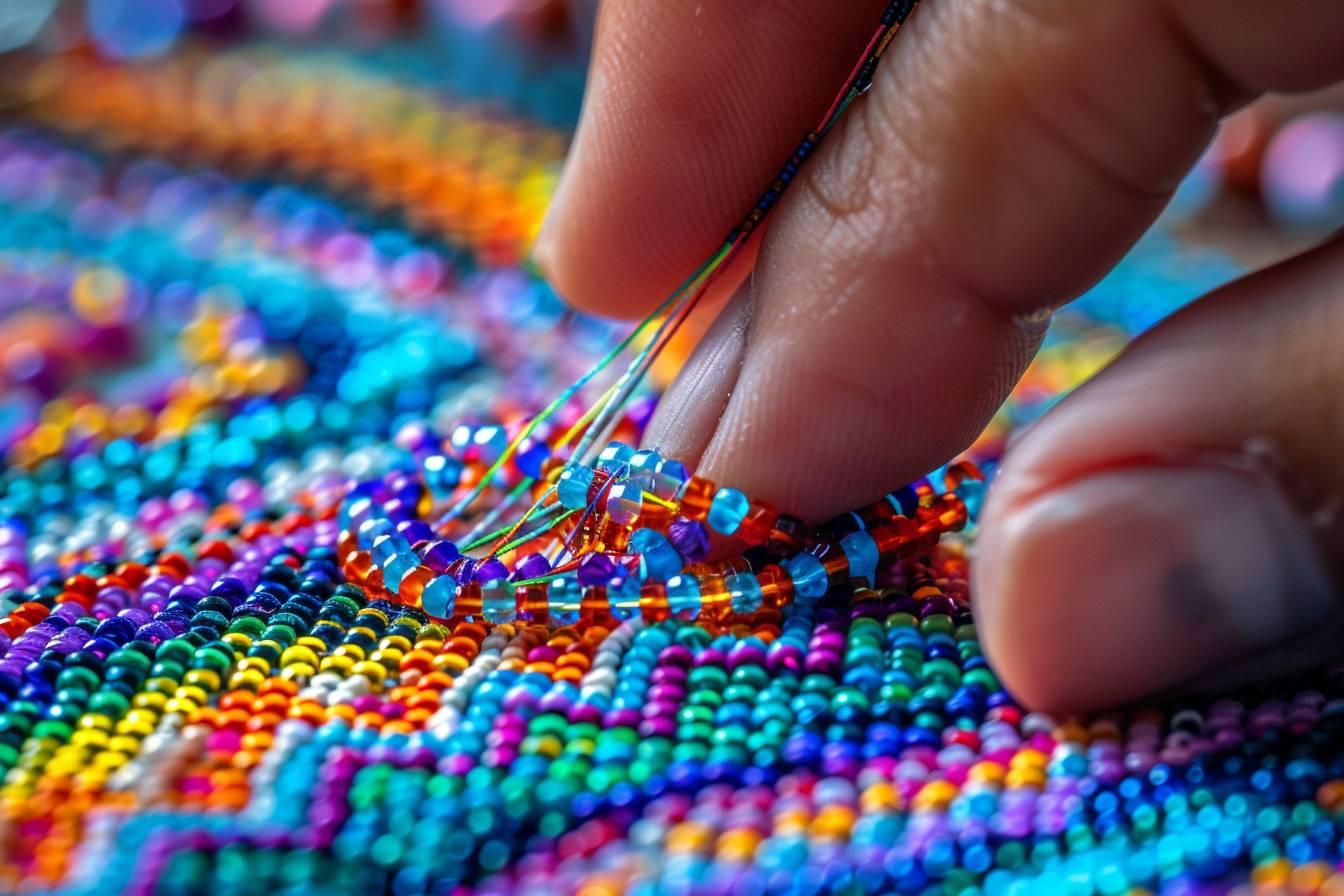
Miyuki bracelets have become a veritable phenomenon in the world of handcrafted jewelry. These delicate accessories, made from tiny Japanese beads, offer infinite creative possibilities. Whether you’re a DIY novice or expert, making a personalized bracelet from Miyuki beads is both relaxing and rewarding. Discover how to create your own unique piece of jewelry and let your imagination run wild with original designs that reflect your personal style.
The art of Miyuki weaving: history and basic techniques
The origins of Miyuki beads date back to Japan in the 1940s. Founded by Matsujiro Miyuki, the eponymous company quickly established itself as a leader in the manufacture of high-quality beads. These tiny glass cylinders, known for their uniformity and brilliance, have become the raw material of choice for jewelry designers the world over.
Miyuki weaving is based on several fundamental techniques:
- Peyote stitch: a very popular basic stitch
- brick stitch: ideal for creating geometric patterns
- Square stitch: perfect for more structured designs
- Loom beading: using a loom for larger creations
Each technique offers unique possibilities for creating a variety of Miyuki bracelet designs. Mastering these basic stitches will enable you to create increasingly complex and personalized designs. Feel free to experiment with different combinations to find your own style.
The choice of beads is essential when making a Miyuki bracelet. The most commonly used pearls are Delica, renowned for their perfect cylindrical shape, but you can also opt for other varieties such as Rocailles or Tila, depending on the desired effect.
Step-by-step tutorial: make your first Miyuki bracelet
To create your first Miyuki beaded bracelet, follow this step-by-step guide. You’ll need the following items:
- Miyuki Delica beads (choice of colors)
- Beading thread (nylon or polyester)
- Beading needle
- Scissors
- Clasp
Here’s how to make a simple bracelet using the peyote stitch technique:
- Prepare your thread: Cut about 1 meter of thread and thread it through the needle.
- Start the pattern: Thread 12 beads to form the first row.
- Create the second row: Thread the needle through the second bead of the first row, add a new bead, and continue to the end.
- Continue weaving: Repeat the previous step, adding beads between those in the previous row.
- Finish the bracelet: Once you’ve reached the desired length, attach the clasp at each end.
This basic tutorial will familiarize you with the technique. With practice, you’ll be able to create more elaborate, personalized Miyuki bracelet designs. Remember that patience is the key: precision Miyuki weaving takes time and concentration.

Original designs for your Miyuki bracelets
One of the most captivating aspects of creating Miyuki bracelets is the possibility of designing unique patterns. Here are a few ideas to inspire your future creations:
| Theme | Design | Difficulty |
|---|---|---|
| Nature | Flowers, leaves, butterflies | Intermediate |
| Geometric | Triangles, rhombuses, zigzags | Beginner to intermediate |
| Ethnic | Aztec, African motifs | Advanced |
| Pop culture | Video game characters, logos | Intermediate to advanced |
To create more complex Miyuki bracelet designs, you can use specialized design software or bead grids. These tools allow you to visualize your creation before you start weaving, making it easier to create elaborate designs.
Draw inspiration from the art of Frida Kahlo or the geometric patterns of artist Piet Mondrian to create unique bracelets. The rich colors and shapes of their works lend themselves perfectly to interpretation in Miyuki beads.
Explore the possibilities offered by mixing different techniques. For example, combine peyote stitch with brick stitch to create interesting textures in your bracelets. Adding beads of different sizes or complementary materials such as Swarovski crystals can also add an extra dimension to your creations.
Personalizing and caring for your Miyuki bracelets
Personalizing a Miyuki bracelet involves much more than choosing patterns and colors. Here are a few tips to make your creations truly unique:
- Integrate charms or charms between the beads
- Use metallic beads to add sparkle
- Create multi-strand bracelets for a more imposing effect
- Add tassels or bangs to the ends of the bracelet
Taking care of your Miyuki pearl bracelets is essential to preserve their beauty over time. Here are a few tips:
- Gentle cleaning: Use a soft, slightly damp cloth to remove dust.
- Avoid water: Miyuki bracelets are not waterproof, so avoid getting them wet.
- Storage: Store in a jewelry box to avoid scratches.
- Repair: In the event of a broken wire, sew it up quickly to prevent loss of beads.
Creating Miyuki bracelets is an art that combines precision, patience and creativity. Whether you’re looking to express your personal style or offer a unique gift, these delicate jewels offer an infinite canvas of possibilities. Feel free to experiment with different techniques, colors and patterns to create pieces that truly reflect your personality. With practice and imagination, your personalized Miyuki beaded bracelets will become wearable works of art, admired by all who see them.

